
learning about grinding needlepoints and naginata
two sides of the same coin
Welcome back to my series on nib grinding. This is now part four. In this article, I’ll focus on needlepoints, and I’ll make a few comments on naginatas at the end. If I do it right, you might even have an “aha” moment.
Let’s get into it with needlepoints. This is a bit different from the grinds discussed previously. Before, I focused a lot on the contact patch and on grinding it into a very particular shape for a particular style of line variation.
With architects, the goal is middle eastern scripts or block printing. With italics, the goal is broad edged calligraphy or its derivatives. With needlepoints, the goal is simply to write like a regular factory round nib, but smaller. To this end, a needlepoint is less about making a certain shape and more about scaling down the established contact patch.
Because of this, there aren’t really any fundamental rough cuts I can discuss or draw. All needlepoints have the same small, rounded contact patch, but the macro shaping varies considerably from person to person. So, it will be more helpful to skip straight to analysis of professional work, and afterwards we can discuss rough cutting.
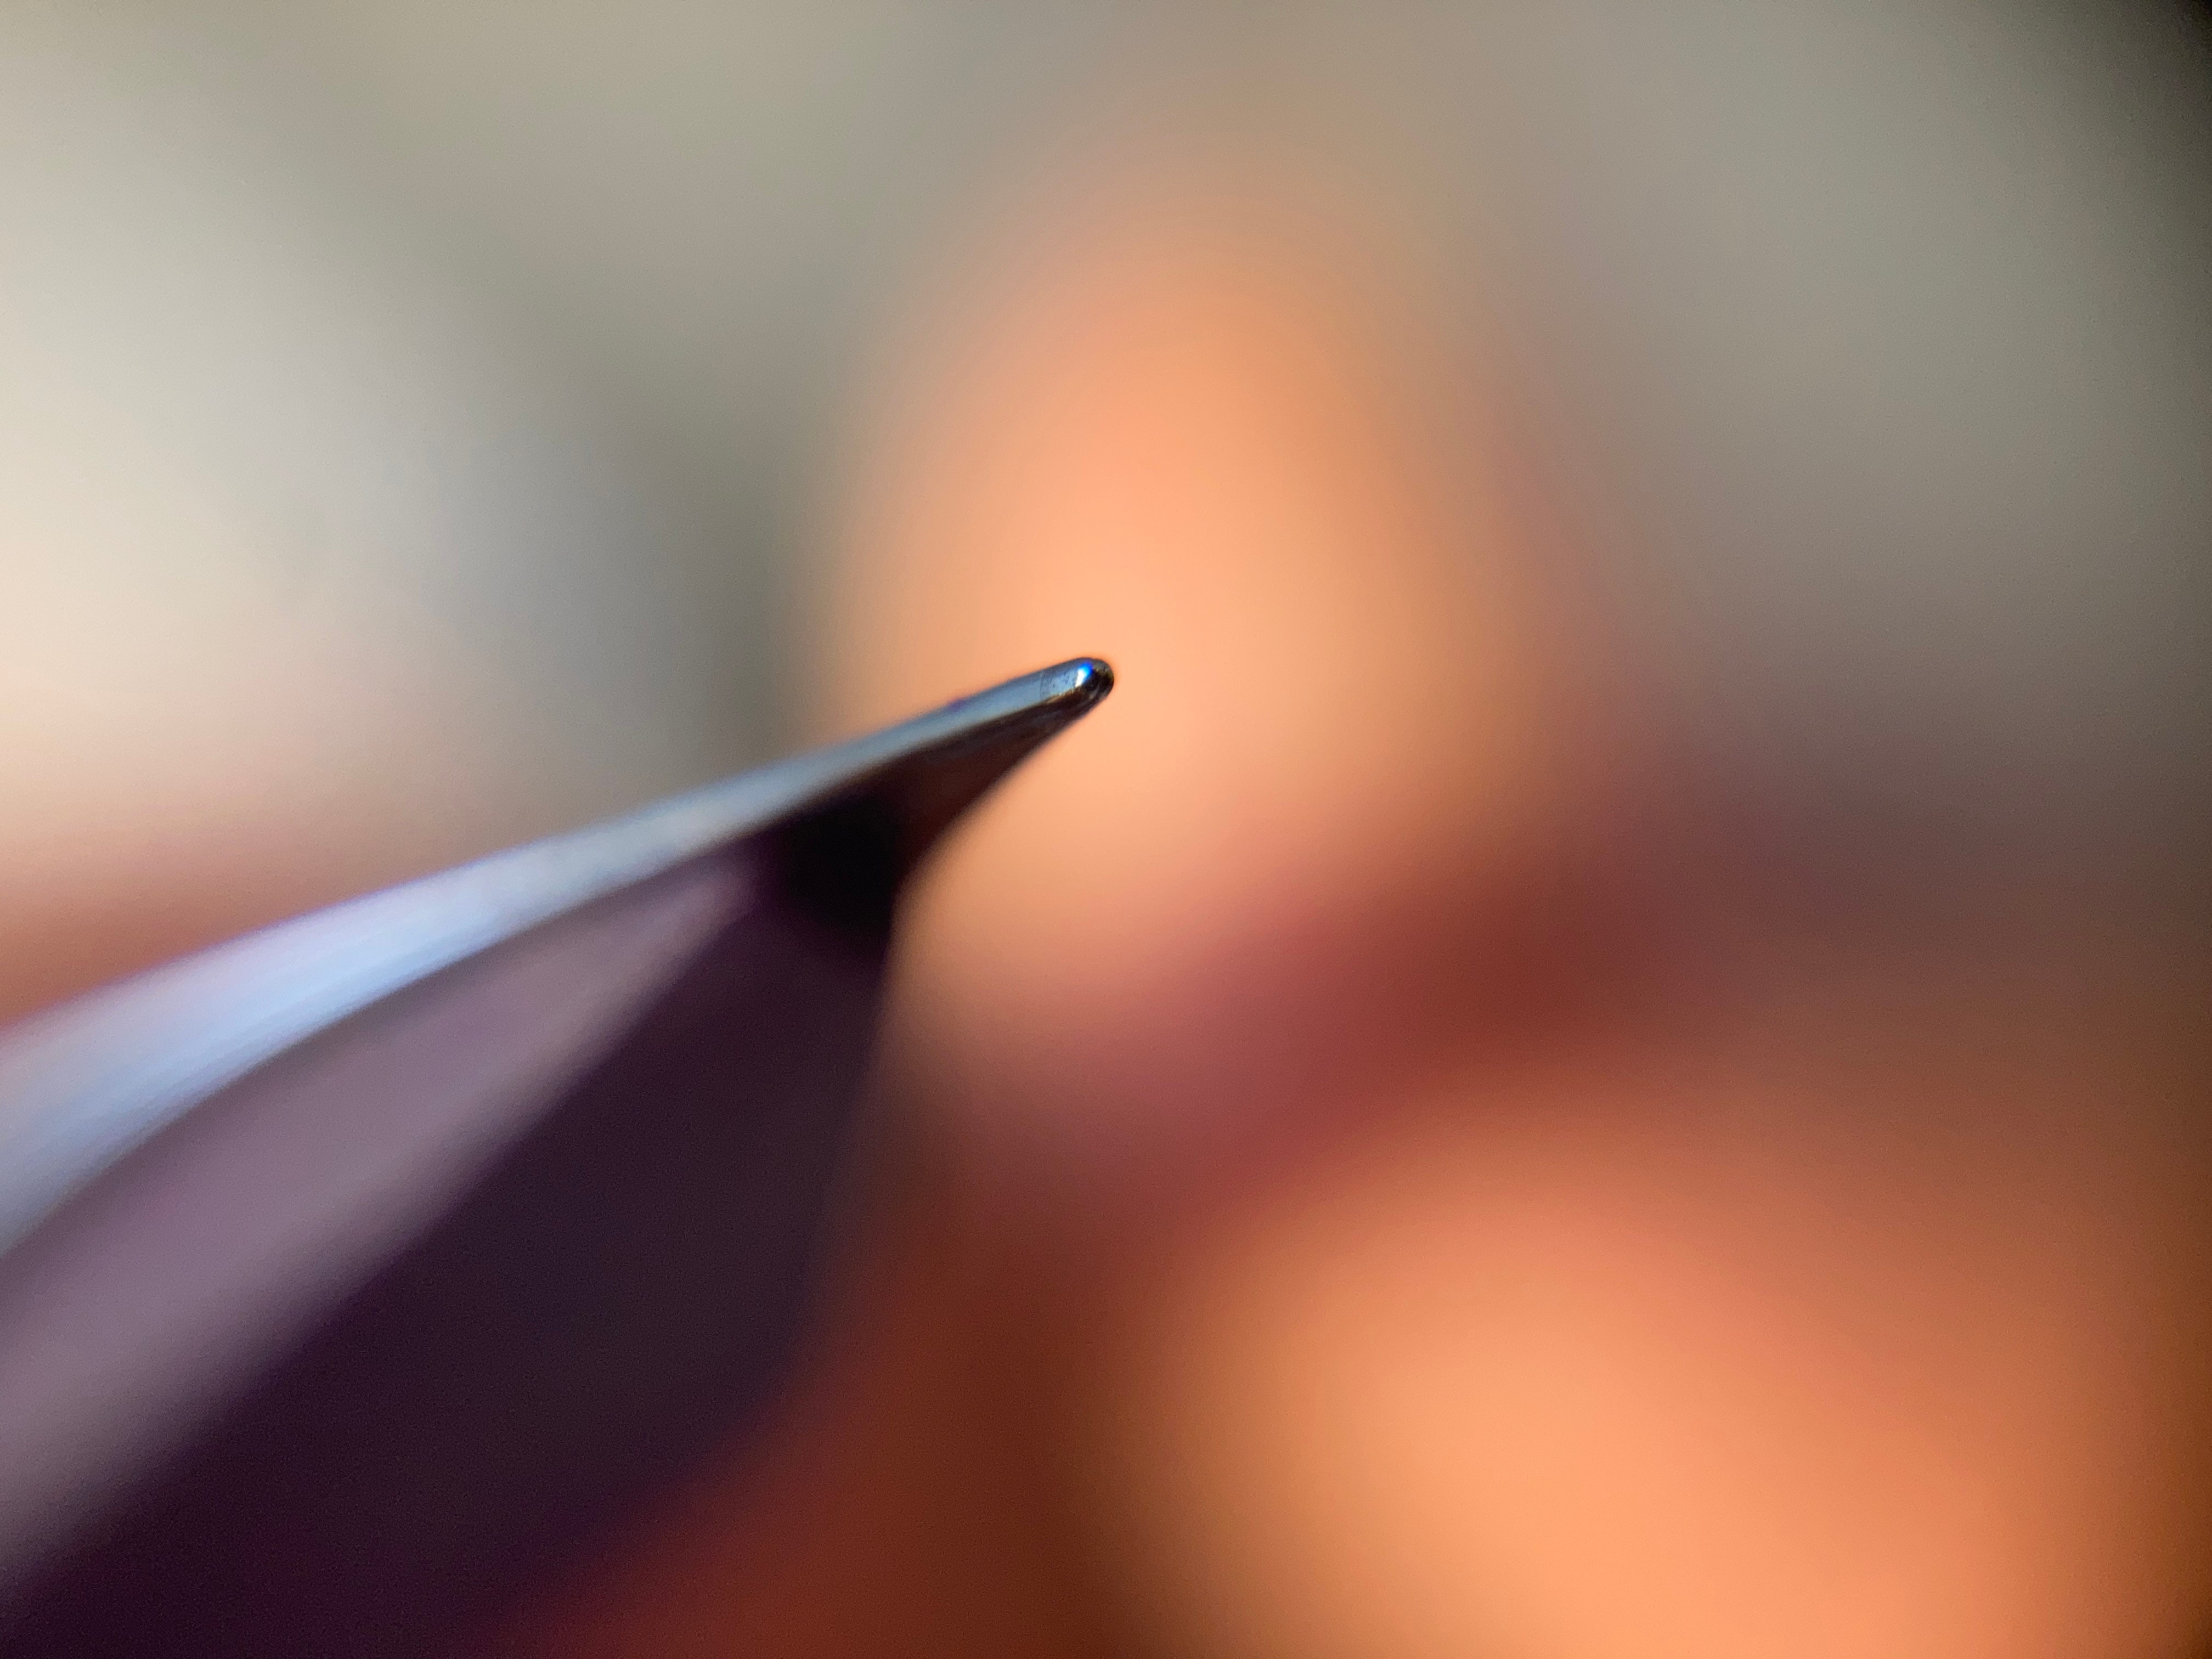
This one is done by Gena Salorino. It’s nice and clean, and the base was probably a fine nib. The shape is almost cylindrical with a domed tip.
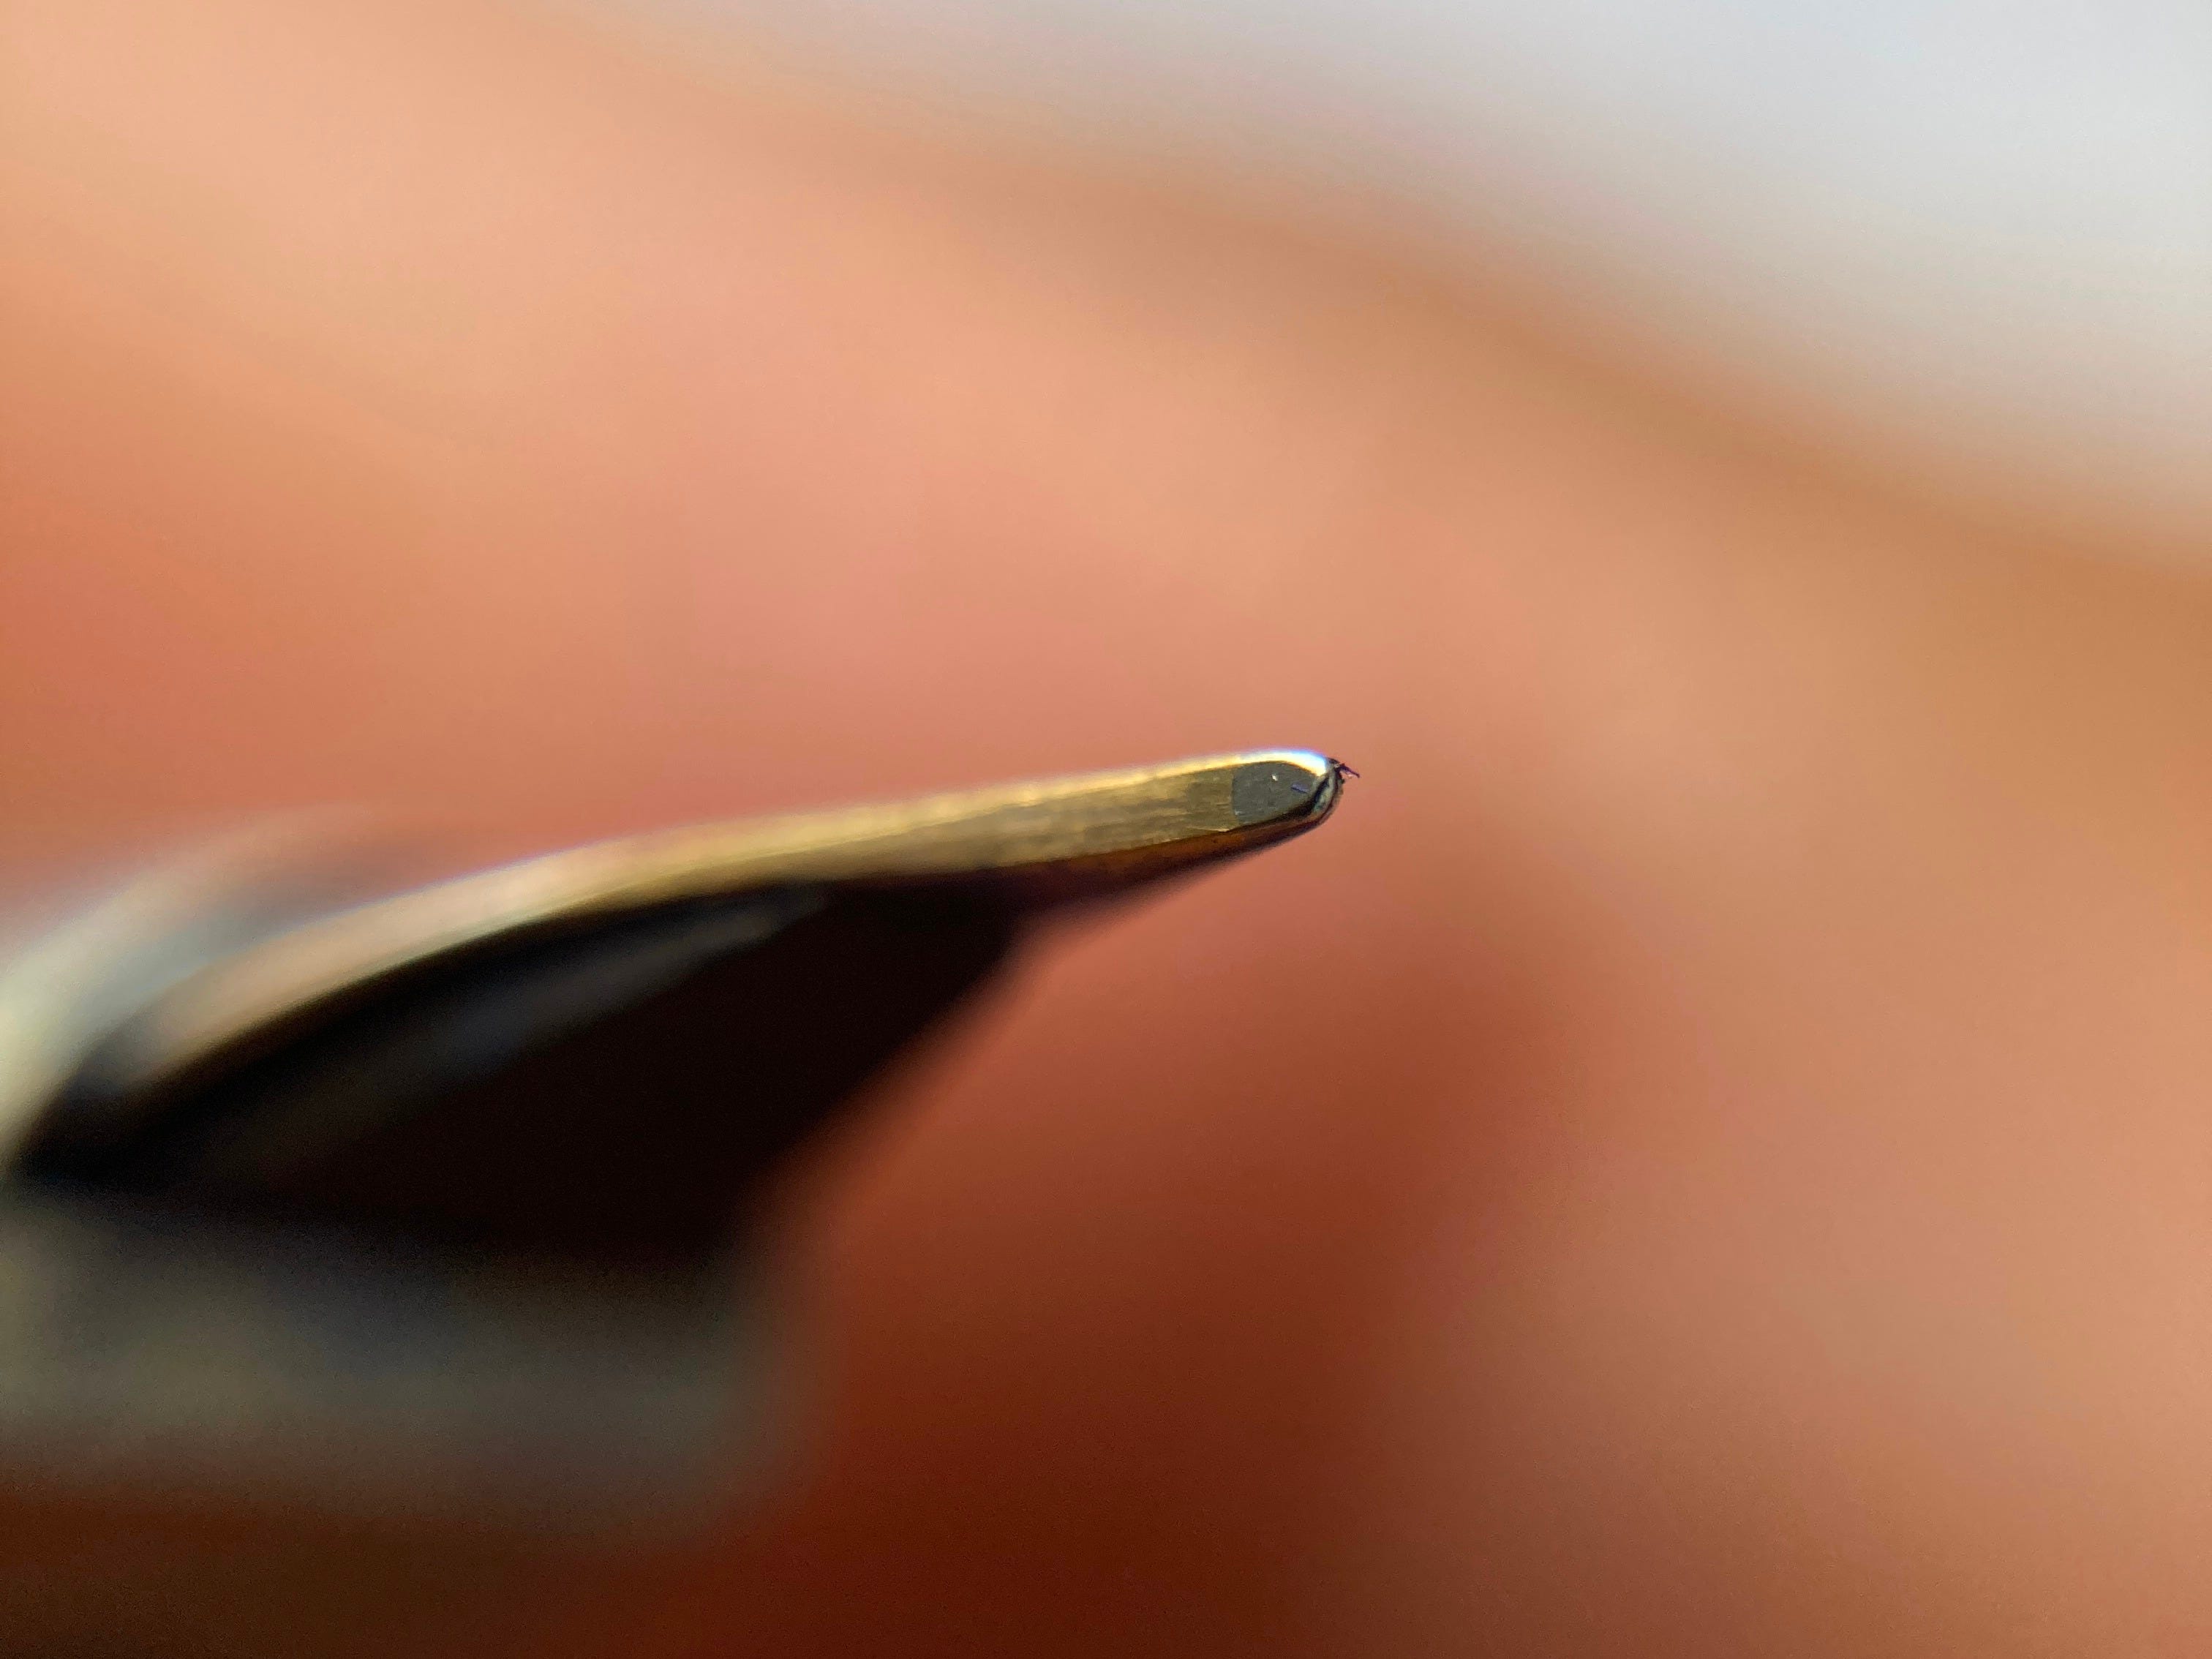
This one is done by Mike Masuyama. I had it in-hand as a reference when I was learning to grind needlepoints. The side cuts are quite deep, and overall it’s relatively taller than it is wide. It has similarity to the Platinum UEF, which isn’t the geometry I would make. And yet, it was smoother than any of my attempts. I have no explanation for this beyond Mike having the magic touch for nib work.
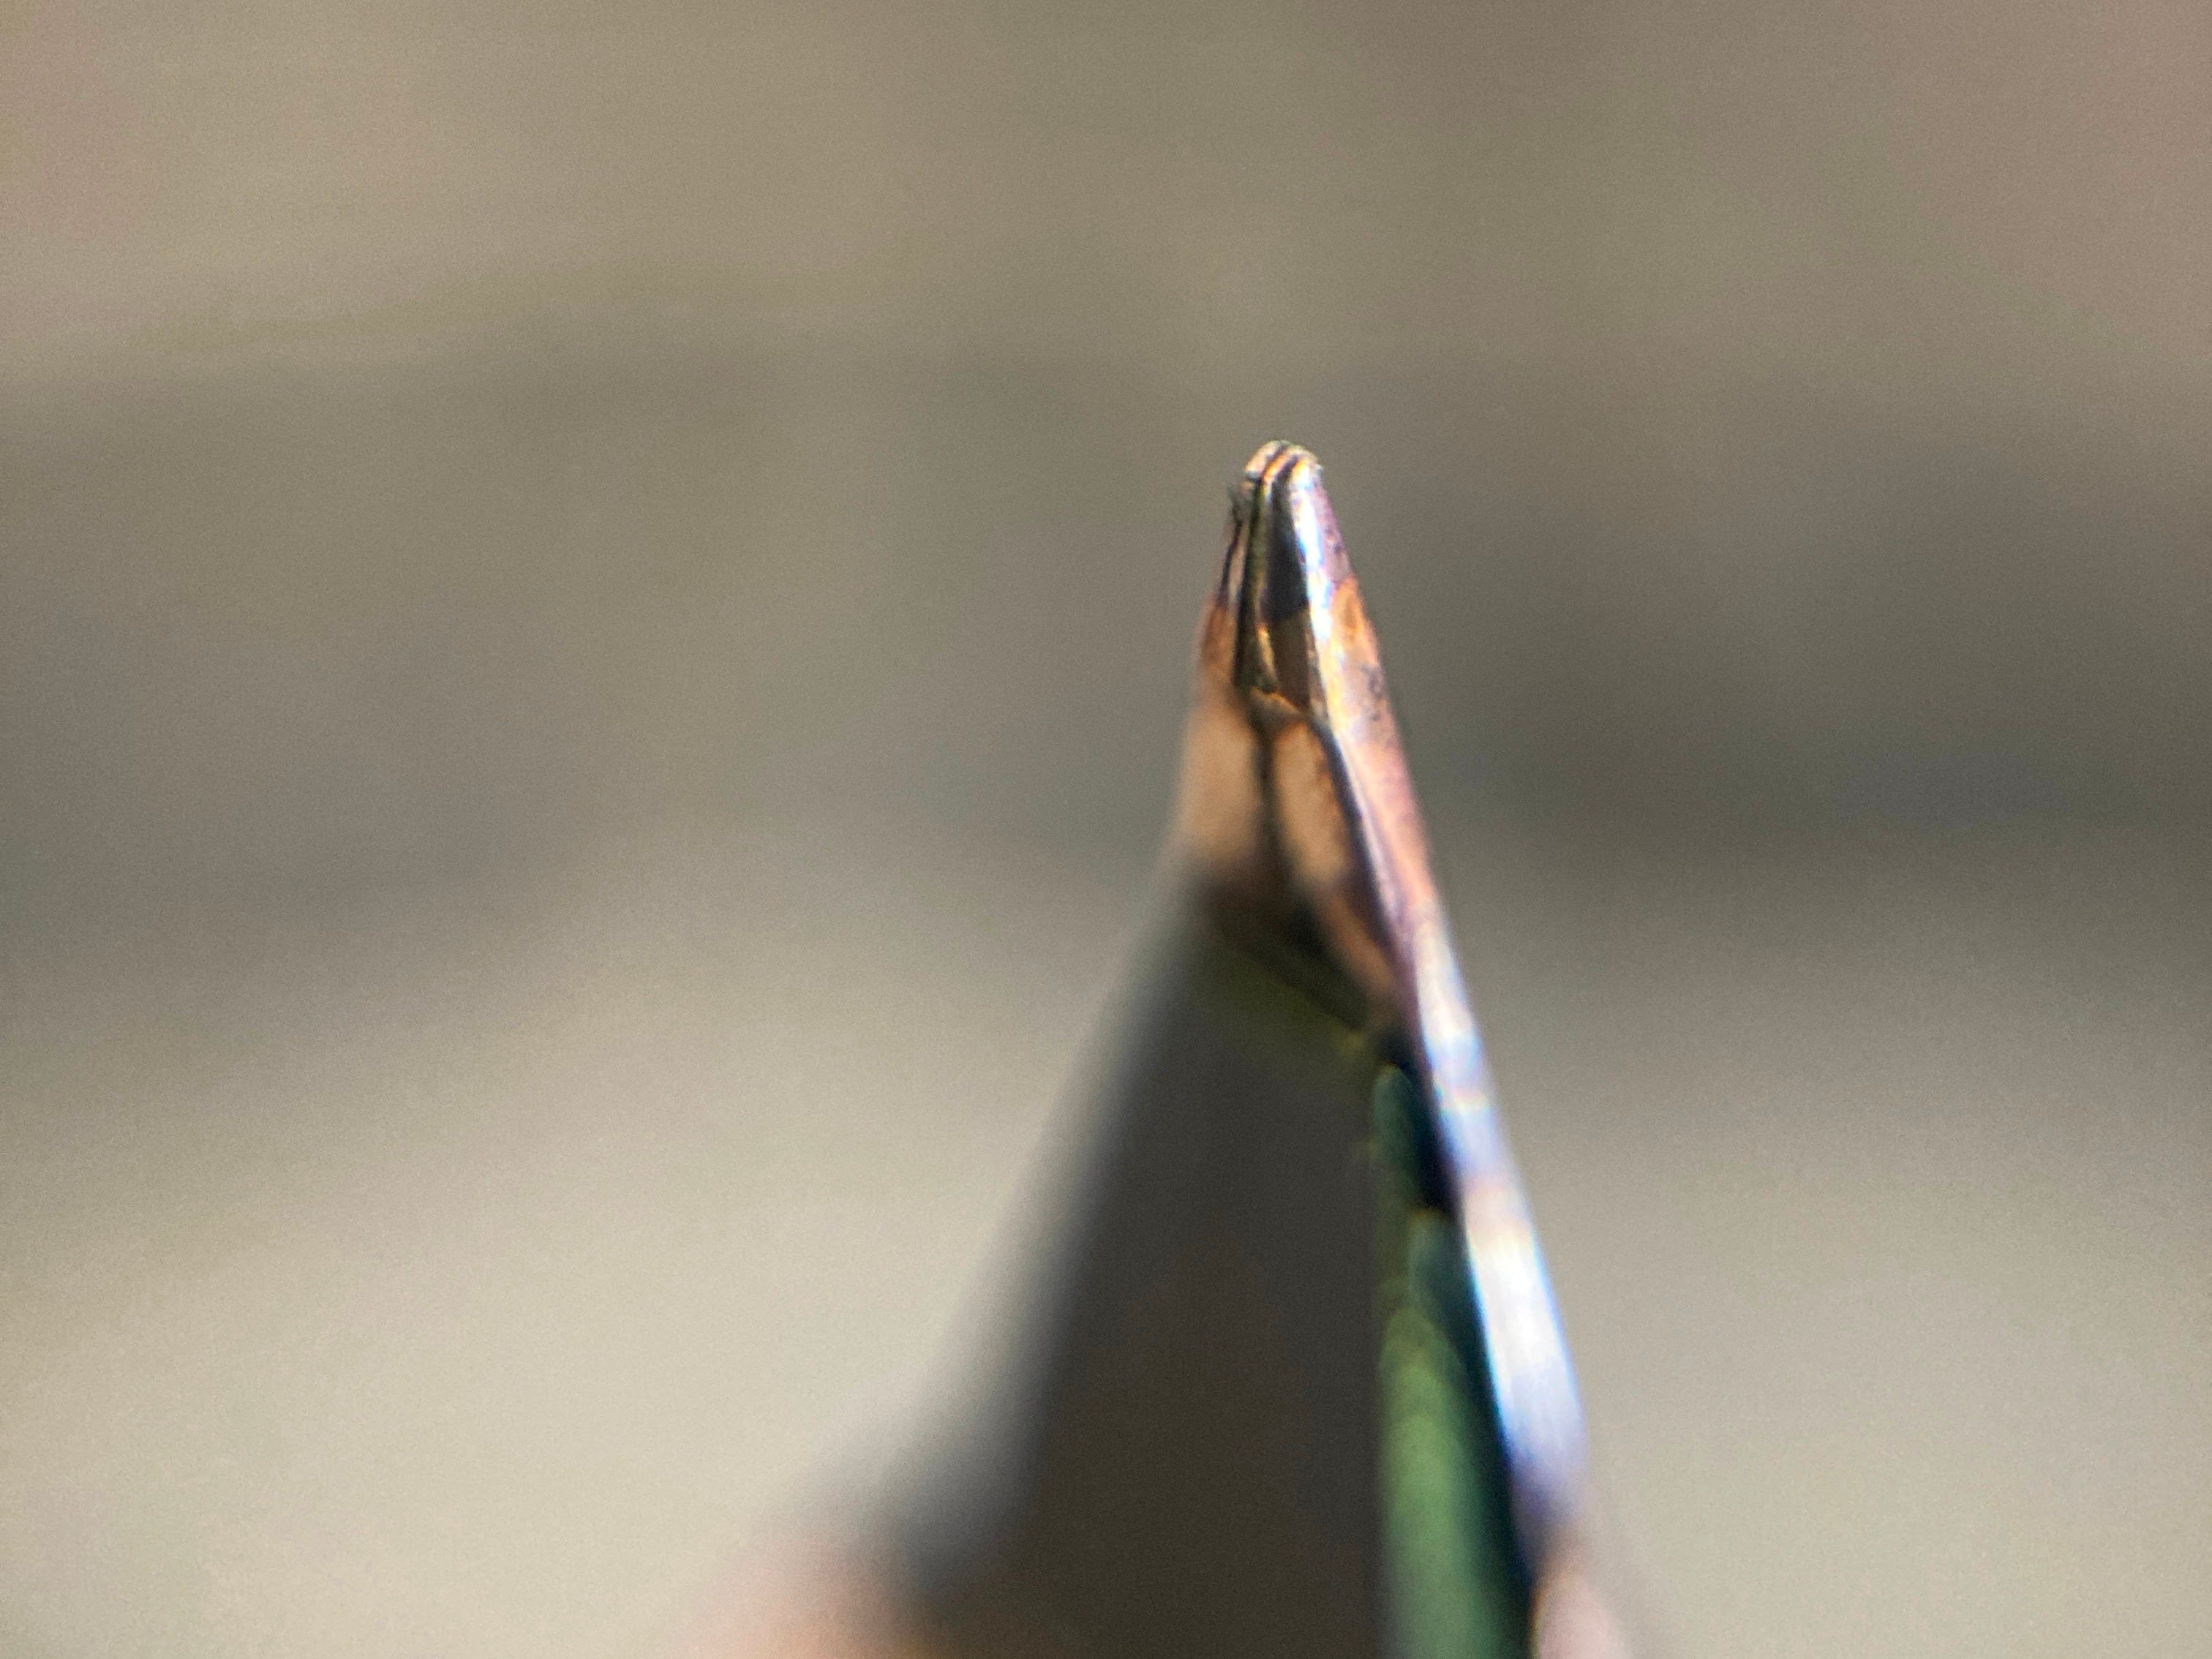
This one is done by Kirk Speer. It came from a fine nib. Overall, it’s got a sort of arrowhead shape, with an especially sloped bottom. Kirk describes it as a cone. It’s not my favorite, though I’m not sure how much of that is from the shape or the polishing.
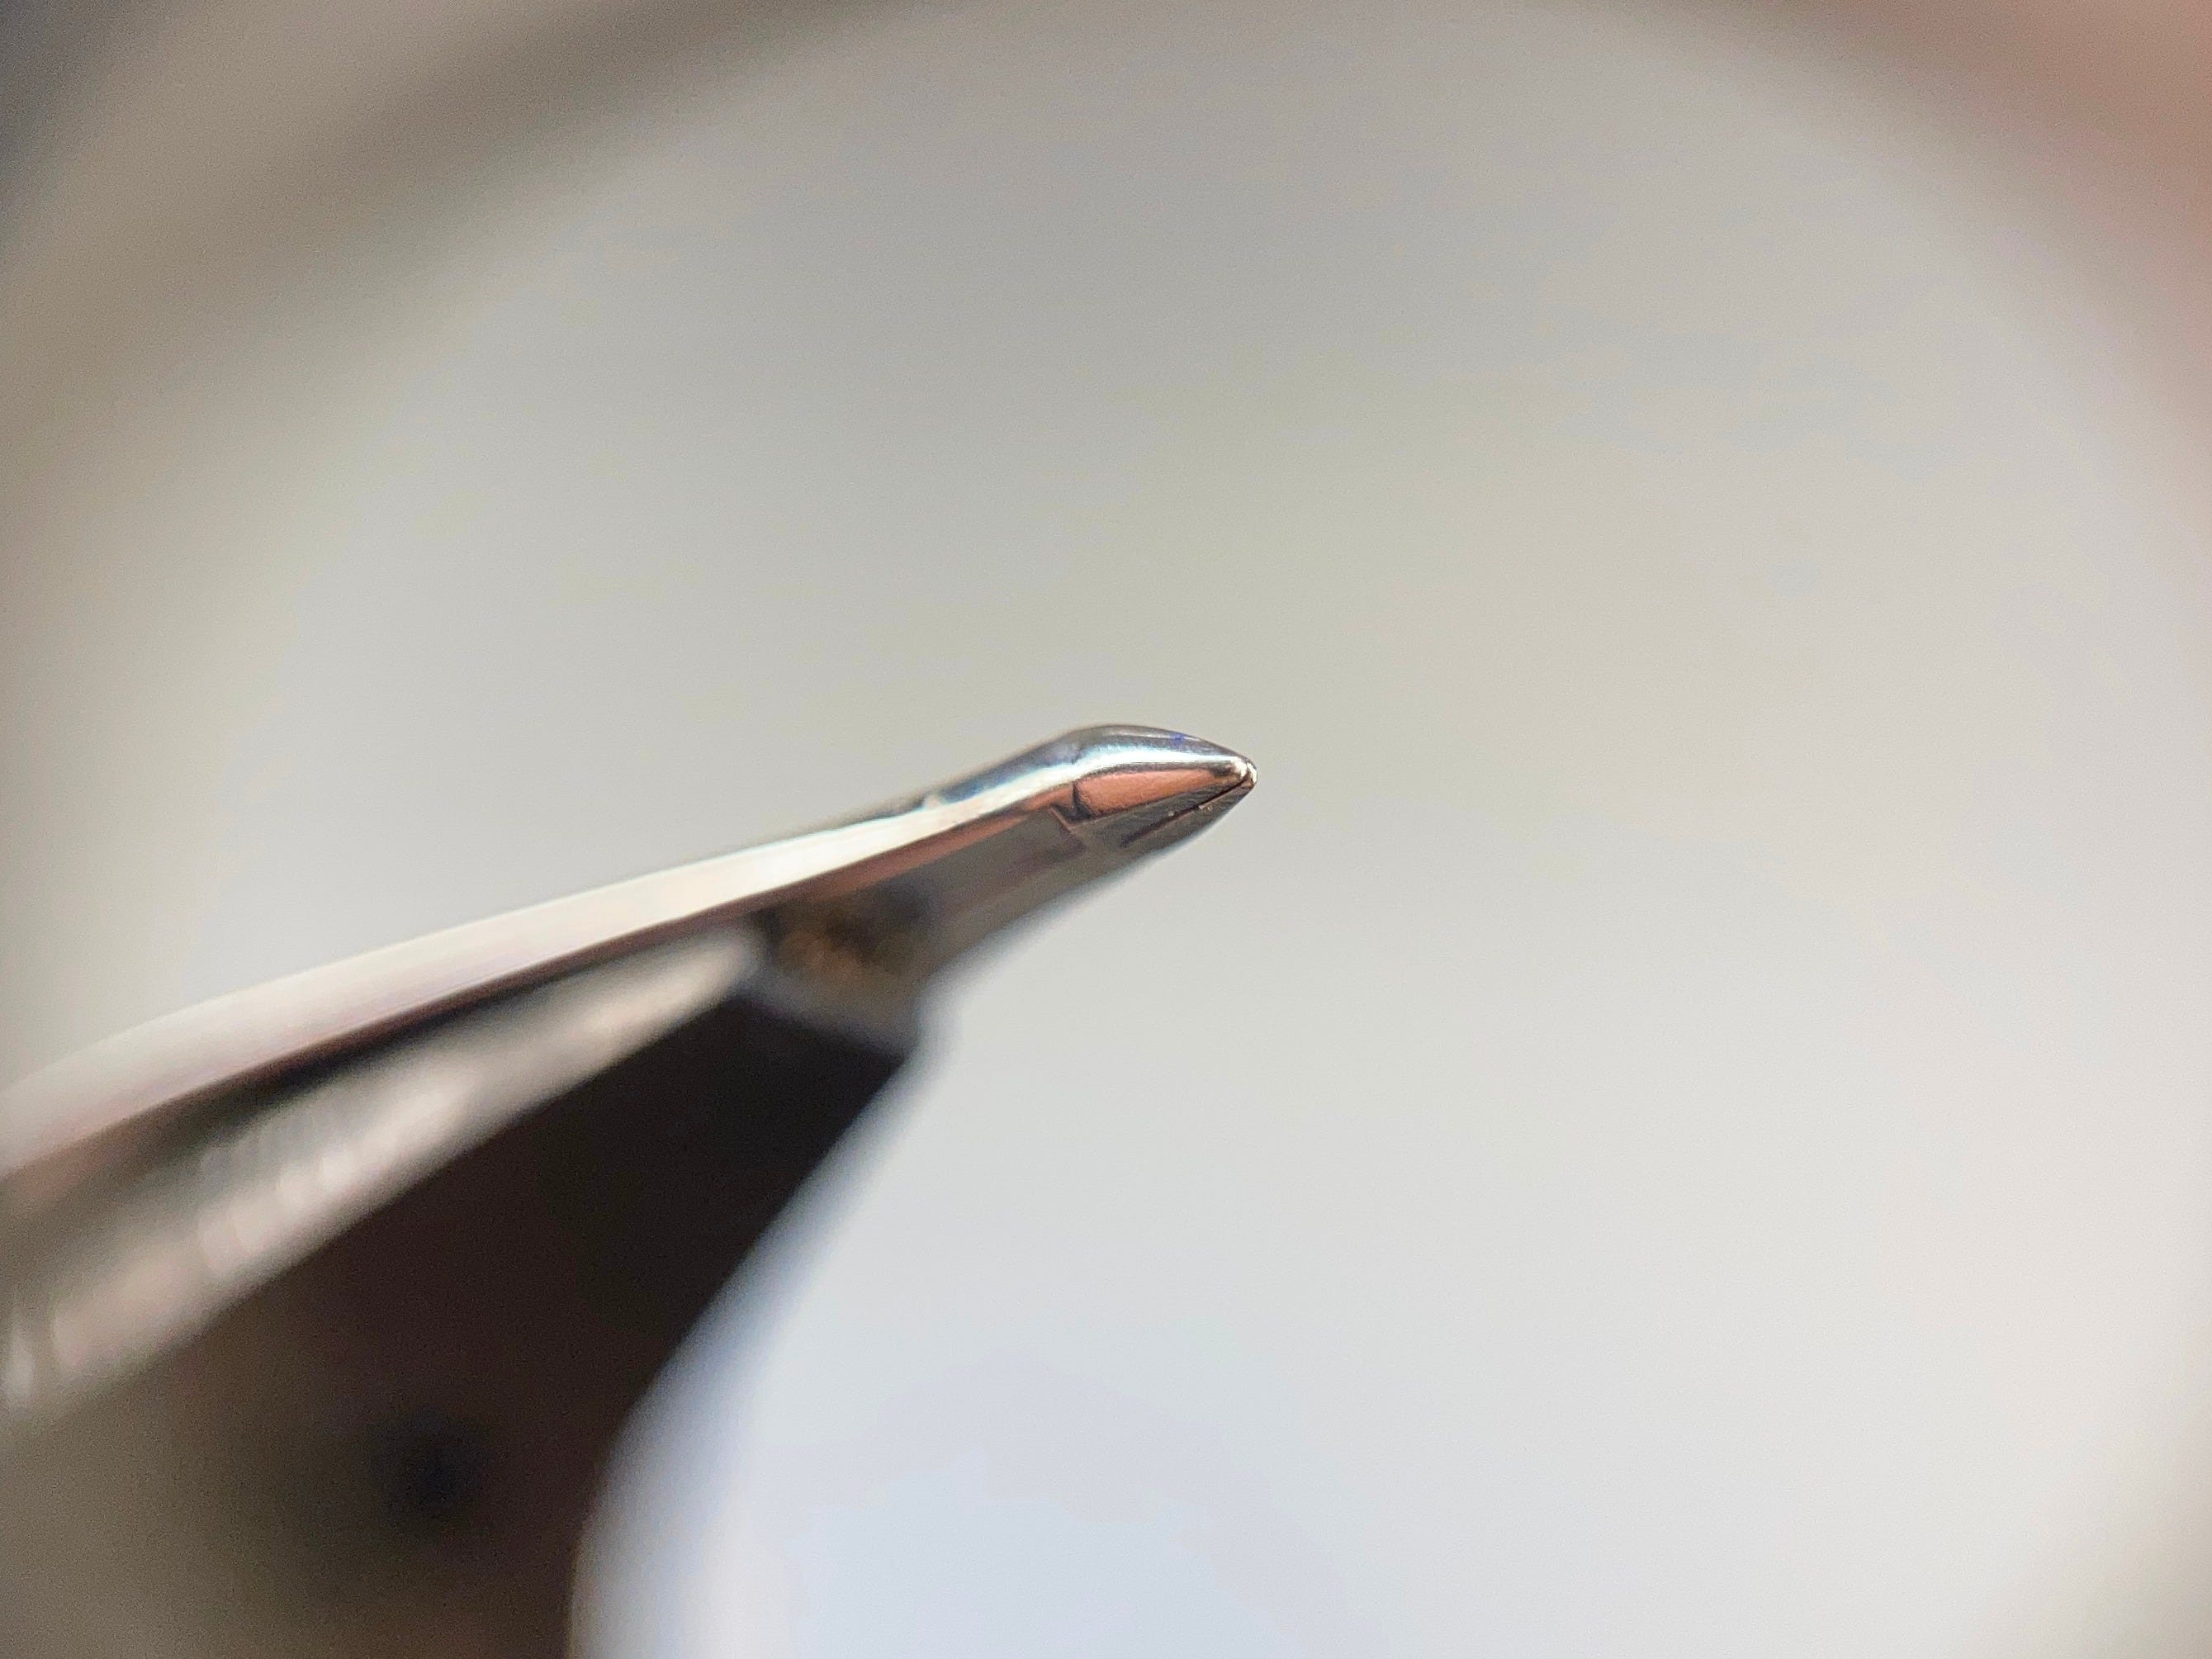
This one is done by CY. It came from a very broad nib, and I find the form to be beautiful. It has a flat bottom, and the top slopes down to meet it. Also, there are prominent diagonal facets. I haven’t mentioned it in these articles, but I look up to his approach the most out of any nib worker. For a long time, I struggled to produce grinds the way I envisioned them. I felt like I was fighting my tools and technique to get the look and feel I wanted. Now, thanks to his help, that’s no longer an issue.
Now that we’ve got a few professional examples in our minds, I can make some generalized comments about the rough cuts. Gena’s needlepoint is a good example of the most basic form. The rough shape is simply parallel cuts thinning the nib along the top, bottom, and sides, which makes a square shape. The corners and tip are then rounded with a polishing step. It ends up looking factory-fresh rather than modified.. The rough shape is simply parallel cuts thinning the nib along the top, bottom, and sides, which makes a square shape. The corners and tip are then rounded with a polishing step. It ends up looking like it’s factory-fresh rather than modified.
CY and Kirk demonstrate what to do when a nib doesn’t easily lend itself to becoming a needlepoint. They both angle their rough cuts like a cone or pyramid, and they both do diagonal cuts on the bottom of the tipping. These cuts produce a sharp point with the least amount of material removal. Diagonal cuts especially keep me from forming a micro-italic, as pictured below. The major difference between their needlepoints is the bottom, and I have already discussed my preference for flat bottoms.

Now, let’s make the connection from needlepoint to naginata, which I learned from Tsubasa Maeda, who has been a tremendous resource and friend.
As mentioned above, angled/sloping cuts are the way to create a sharp point with minimal tipping removal. Tsubasa calls this “hosomi” grinding in his article, which roughly translates to slender/slim/tapering. I like the word convergence.
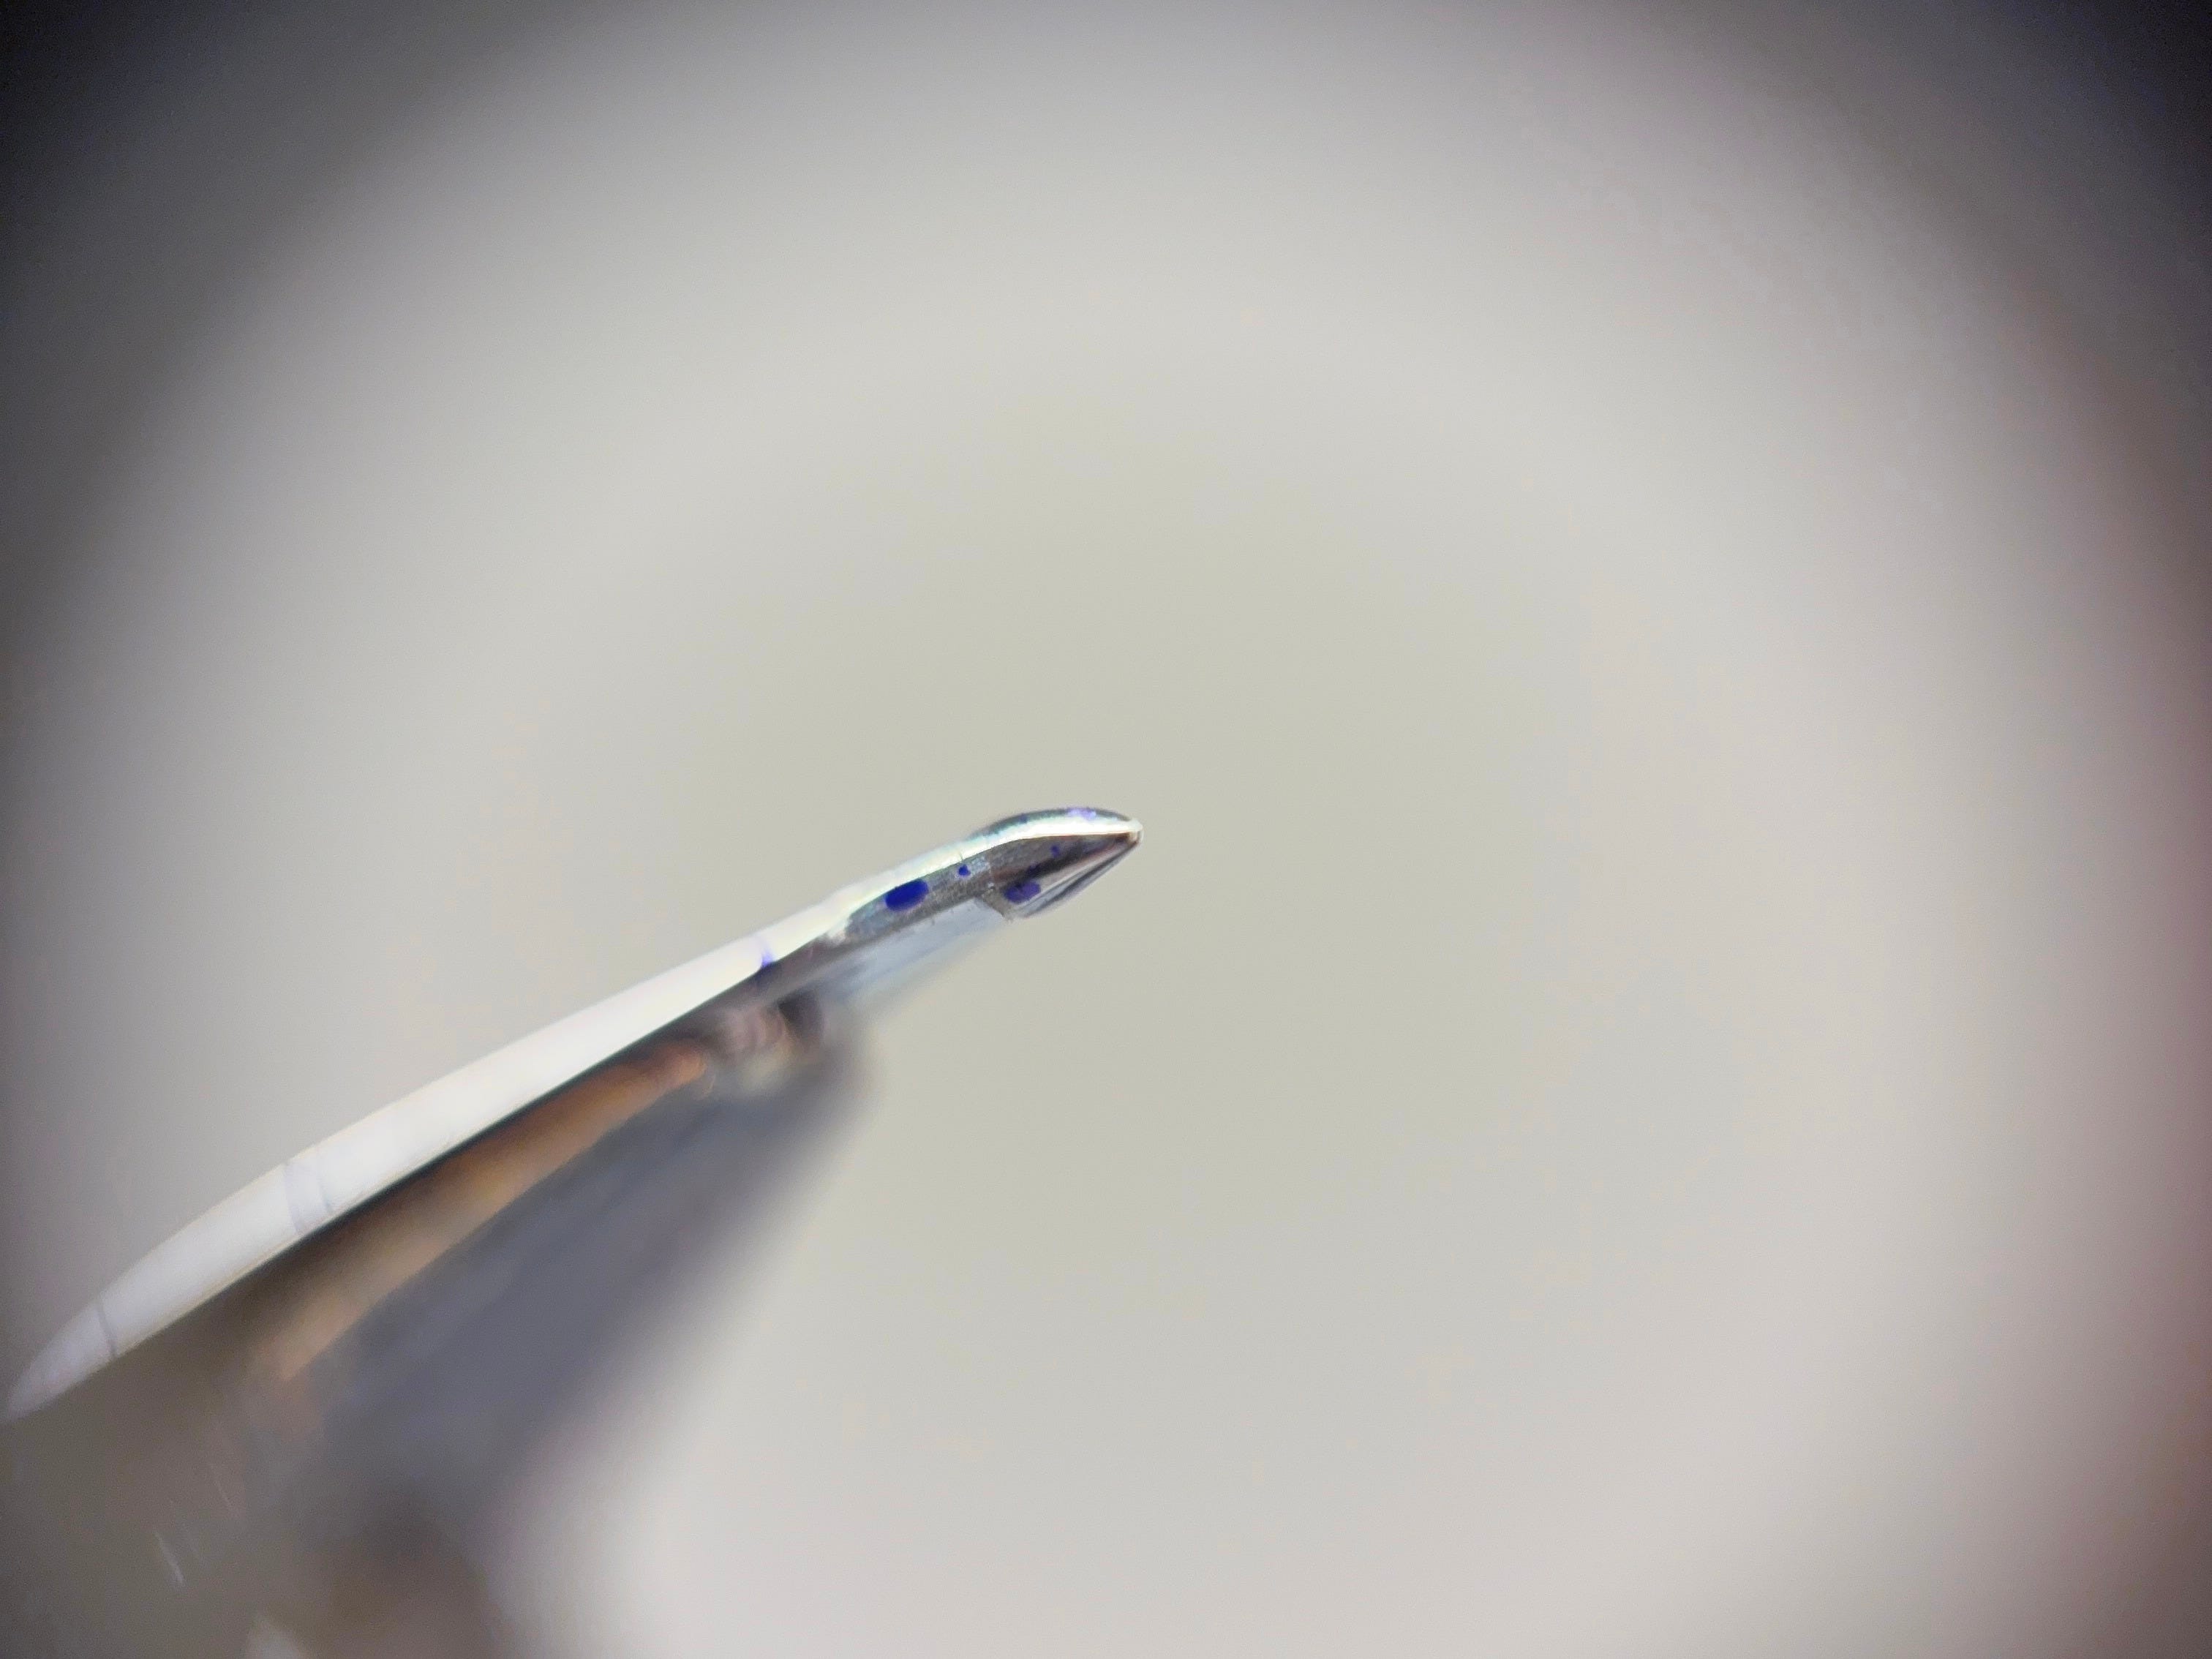
So while a needlepoint is defined by the tipping converging down to a point, a naginata is defined by converging upward. Here are a couple of photos of Nagahara’s Kodachi grind to illustrate this point.
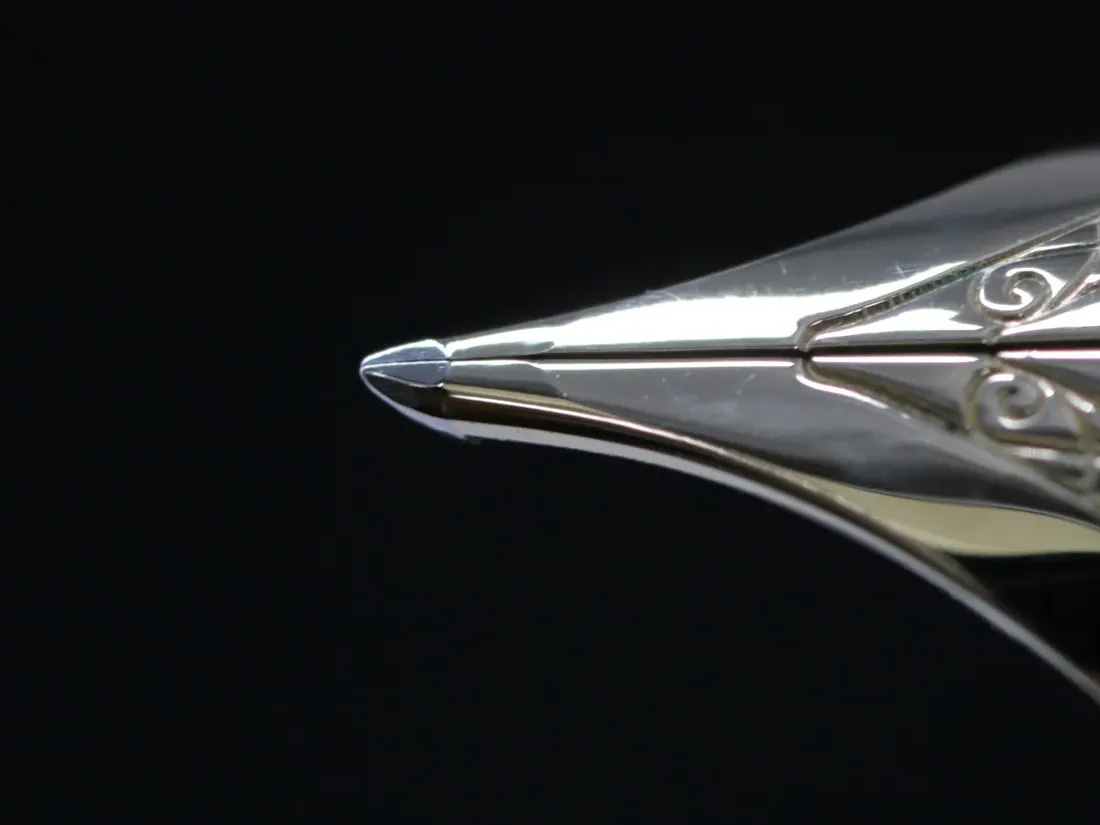
In the photos, we can see a flat top, diagonal cuts, and of course the slope upward. There are other factors that make a good naginata nib, like a certain degree of curvature from bottom to top and a consistent triangular shape to the contact patch. But I can’t make any more detailed comments on them, since I lack detailed understanding on east Asian writing systems. For a better understanding of what naginata nibs are actually used for, I’ll refer you to CY’s “The Anatomy of a NAG”.
Thanks again for reading. I have been getting great feedback from other hobbyists and nib workers, and I really appreciate all the kind words. The next article will conclude this series. We’ll take a look at several “round” nibs and talk a bit about resizing.